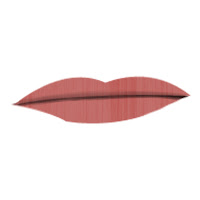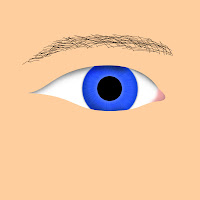

This project took me quite a long time to do. It consisted of many tutorial videos from lynda.com. The first thing that I did was watch each of the tutorials and recreate them into parts that I could use on my final picture. To the left there are two of those examples. After that I took a photo of myself to base the shape of the head and hairstyle on. So after that I traced the head shape and created the hair. The hair consisted of 5 layers just in itself and each hair stroke was individually created using the brush tool. After the hair I created the eye and eyebrow. If you click on the smaller picture of the eye you can see that there is a lot of detail in it but when I shrunk it to put it on the final image some of the detail is not visible anymore. Much time was put into using the burn tool to create realistic shadows also. After that was the easiest part of this project, the mouth. All i did was make lips and add a fiber effect to it. That made it look like real lips and then I made some shadows with the burn tool. After that I made the nose. The nose is very interesting as well. It consists of no shapes only shadows made with the selection tool. After the nose was finished a few minor details such as the little shadow under the lips and the shadows in-between the nose and lips. I think in all the picture came out very realistic and the final outcome came out pretty good.
The tutorial series can be view here: http://www.lynda.com/Illustrator-CS5-tutorials/Bert-Monroy-The-Making-of-Times-Square-The-People/77845-2.html?srchtrk=index%3A1%0Alinktypeid%3A2%0Aq%3Athe%20people%0Apage%3A1%0As%3Arelevance%0Asa%3Atrue%0Aproducttypeid%3A2
The psd can be downloaded here: http://www.mediafire.com/?i1cfjomatqbss6q
The picture of myself I based it off could be seen here: http://www.mediafire.com/?i1cfjomatqbss6q

No comments:
Post a Comment